
Showing posts with label Carlos Diez. Show all posts
Showing posts with label Carlos Diez. Show all posts
The Darkness
** Tag Show Off **

Scrapkit used - The Darkness - MellieBean
Tube used - Carlos Dies
You will require a licence to use this tube
I purchased from UpYourArt
The following Tag was created using the elements from
this scrapkit only

This a PTU Scrapkit and here is the preview

Medusa

Program of choice is pspX2
This tutorial was written for those that have a working knowledge of PSP.
-----------------------------------------
- Supplies Needed -
Tube Of Choice - Carlos Diez - UpYourArt
Tube Of Choice - Carlos Diez - UpYourArt
Scrap Kit Of Choice - Samaelia - PTU Hania Designs
Open up the elements.
Font used - Trajan Pro - Pixelette (Credits)
-----------------------------------------
- Lets Get Started -
Open up a blank canvas
650x600
Add a new raster layer and flood fill with white.
Move this layer to the bottom of your layers Palette.
Open up the elements.
Paste Element 91 as a new layer
Resize to a size you are happy with.
Once you are happy
With your magic wand select inside the frame,
selections - modify - Expand by 5.
Choose a paper of choice, I chose paper 8.
Once happy with placement
Once happy with placement
selections - invert - hit delete on your keyboard.
Move this layer below your frame layer.
Copy and Paste Element 50 as a new layer
Place to the left of your canvas.
Resize untill you are happy.
I resized by 50% and deleted parts of the tree i didnt want seen.
I resized by 50% and deleted parts of the tree i didnt want seen.
Image - duplicate - mirror.
Open elements 15 - 33 - and 46
resize to a smaller size that you are happy with,
place these in the bottom left of your frame.
and place as you wish.
Copy and Paste any other elements that you may wish
to use.
See my finished tag as a guide..
Copy and Paste any other elements that you may wish
to use.
See my finished tag as a guide..
(Use my tag as a guide)
Add drop shadow to each layer
I used
2 - 3 - 30 - 6 - Black Hit load/OK
Add any other elements that you may wish to use.
Copy and Paste your tube as a new layer
Duplicate this.
Place one tube below your framed layer and the other
on the top of your pallete.
With your eraser tool, erase parts of the tube
you wish not to be seen on your top layer.
Add any other names and copy rite information that is required.
save as you would normally.
That's it tutorial complete.
You can use my tag as a reference.
This tutorial was written by DigiMania
any resemblance to any other tutorial is purely coincidental.
SpookTackular
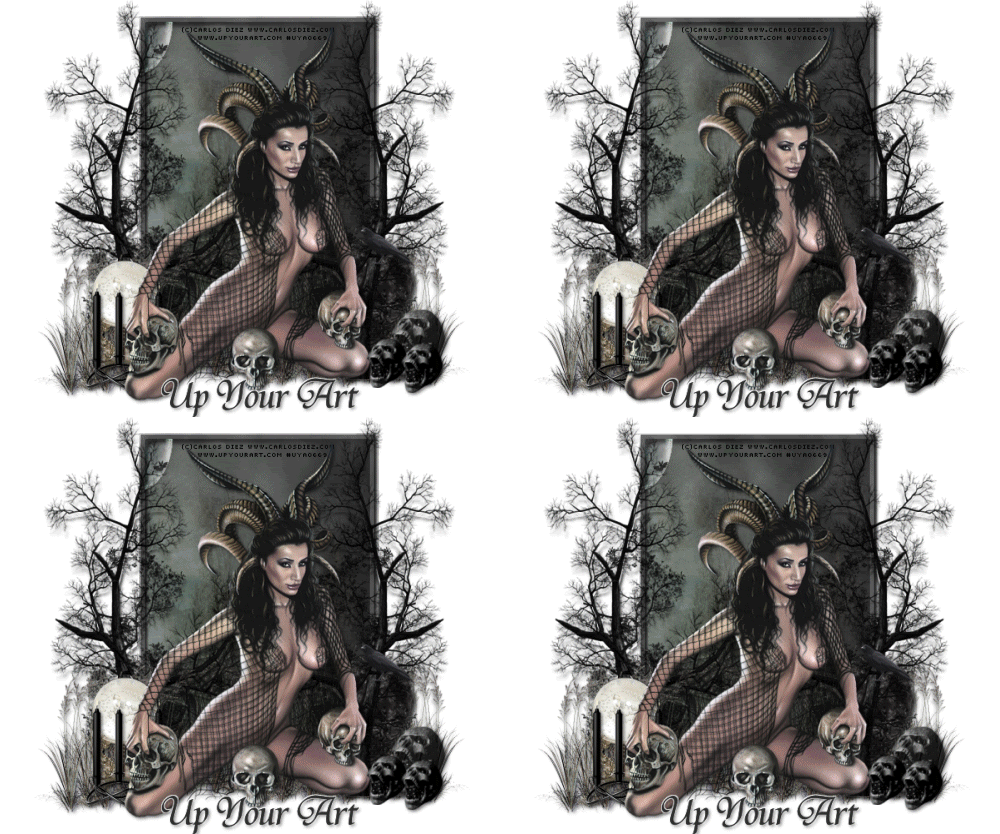 Program of choice is pspX2
This tutorial was written for those
that have a working knowledge of PSP.
-----------------------------------------
Supplies Needed
Tube/Image of choice – Carlos Diez - Upyourart
You will need a license to use this tube
Scrapkit - Feeling Grunge - DigiMania
Filter used - Mura's Meister - Clouds
Optional Filter - Xero Porcelain
Animation Shop
Font used – Rage Italic & Pixelette (Credits)
-----------------------------------------
-Lets Get Started-
Open a new canvas
600x500
Draw out a rectangle on your canvas.
(Colour as you wish) I chose a dark grey.
Selections Select all - float - defloat -
Modify - Contract by 6.
Hit the delete key on your keyboard.
Using your magic wand Select the inner of your rectangle.
Copy and paste a paper of choice to your inner of the rectangle
I used my paper 6. Gives a haunted scene,
Copy and paste your tube as a new layer.
Add the OPTIONAL FILTER Xero Porcelain.
You dont have to add this effect.
Mess with the settings untill you are happy.
or load with the following settings.
50 - 128 - 128 - 0 - 0 - 255.
Add any other embelishments of your choice,
Either use the same as i have or any will work
with the same effect, Remember to add a dropshadow to each layer.
i use 2 - 2 - 50 - 5 - Black. Load.
ANIMATION
Back to your paper layer duplicate this layer by 3.
close off both duplicates.
On the original layer,
Selections Select all, Float, Defloat, Effects, Plugins
Muras Meister, Cloud.
Load with the following settings
39 - 100 - 3 - 0 - 0 - 0 - 0 - 0 - 0.
Paper Layer 2.
Repeat the above steps when coming to load the cloud filter change the first
effect to 48. Hit OK.
Paper layer 3.
Again repeat the above steps,
Changing the cloud filter to 56. Hit ok.
CLOSE OF LAYER 2 AND 3.
Add any other names and copyrite information that is required,
Save as you would normally.
ANIMATION SHOP
Open Animation Shop.
Back over to psp. Right click copy Merged.
over to animation shop right click paste.
Back to PSP. Close of paper 1.
unclose paper 2. Right click copy merged.
back over to animation shop.
Paste after current frame.
Back over to psp for the final time.
close of paper 2 and unclose paper 3.
Right click copy merged.
Back to animation shop paste after current frame.
Click the first frame of your animation
Edit - Select all - Animation - Frame Properties - Change the
time display to 55. Run animation. If happy
Save as you would normally save.
Thats it tutorial complete.
Use my finished result as a reference.
This tutorial was written by DigiMania Scraps
Any resemblance to any other tutorial is purely coincidental
All tutorials are registered at Tutorial Writers Inc.
RockStar
 Program of choice is pspX2
This tutorial was written for those
that have a working knowledge of PSP.
-----------------------------------------
Supplies Needed
Tube/Image of choice – Carlos Diez - Upyourart
You will need a license to use this tube.
Template - Aqua Vs Sabine 2 Exclusive Collab Creative Misfits
Scrapkit - DigiMania's Emo World
Optional Filter - Xero Porcelain & Fritillary
Font used – Alex Brush
-----------------------------------------
-Lets Get Started-
Open Your template of choice
I will assume you are using the same template
as i am currently using, But will work with any
other template just as good.
Duplicate the template and delete the credits layers.
Select the squares layer, Selections select all float defloat,
copy and paste a paper of choice as a new layer
Selections invert and hit delete,
Repeat these steps for the remaining two square layers.
Once completed got to Effects - Xero - Fritillary
Load with the follwoing settings
5 - 30 - 10 - 0 hit ok.
Do this on all 3 square layers.
Copy and paste your tube as a new layer,
Place as you wish or as i have,
I placed mine in the centre of the template
Below the thin black rectangle layer,
Effects - Xero - Porcelain and load with the following settings
50 - 128 - 128 - 0 - 0- 255 - Hit ok.
Do the above stepd for the rectangle layers,
changing the colours of the papers as you do this,
Use my finished tag as a guide,
Also place any elements that you may wish to add around the tag,
to give this your own unique look.
Always add a dropshadow to these
I use dropshadow with the following settings
4 - 4 - 40 - 5 - Black.
Add any other names and copyrite information that is required,
Save as you would normally.
Thats it tutorial complete
This tutorial was written by DigiMania Scraps
Any resemblance to any other tutorial is purely coincidental
All tutorials are registered at Tutorial Writers Inc.
Star Studded Tutorial
 Program of choice is pspX2
This tutorial was written for those
that have a working knowledge of PSP.
-----------------------------------------
Supplies Needed
Tube/Image of choice – Carlos Diez - Upyourart
You will need a license to use this tube
Scrap kit of choice – DigiMania Feeling Grunge
Available to purchase at – Exquisite Scraps
Template of choice – I am using a template I have found on my hard drive
If this is yours please contact me so I can credit correctly.
Mask of choice - I used WSL_Mask 105
available from Chelle at - WeeScottsLass
Filter - Xero Porcelain
Font used – Pixellete & Alexbrush
-----------------------------------------
-Lets Get Started-
Open a template of choice
Close off the Credits,
Copy and paste a paper of choice,
I used paper 2
Layers, Load/save mask from disc,
Load with the following settings
Source Luminance, Fit to canvas, Hide all mask - Load
Merge Group.
On your Template fill each section with your papers of choice.
I used several different papers for this,
Add drop shaddow 2 2 on each section,
Select the left Circle layer,
Selections, Select all float defloat,
Copy and plaste your tube as a new layer and place as you wish
or as i have, See finished guide as a referance.
I also applied the Xero-porcelain filter
50 - 128 - 128 - 0 - 0 - 255 – ok.
Lower oppacity to suit
Repeat this ste for the Right Circle.
Open another tube of choice resize,
copy and paste into the Centre of your template
layer add drop shaddow 2 2.
I used the Porcelain effect
Loaded with the following settings
50 - 128 - 128 - 0 - 0 - 255 - ok.
Add your elements of choice.
Add drop shaddow 2 2
To all of these layers,
I used several Different elements from thsi wonderful kit
so many different elelemnts to play with
You can use the same as i did.
You can also place in the same places i have,
Use my finished result as a referance.
This tutorial was written by DigiMania Scraps
Any resemblance to any other tutorial is purely coincidental
All tutorials are registered at Tutorial Writers Inc.
Remember to add the same previously used
dropshadow to each of the layers,
Add any other names and copyrite information that is required,
Save as you would normally.
Thats it tutorial complete.
Subscribe to:
Posts
(Atom)
Blinkie
